
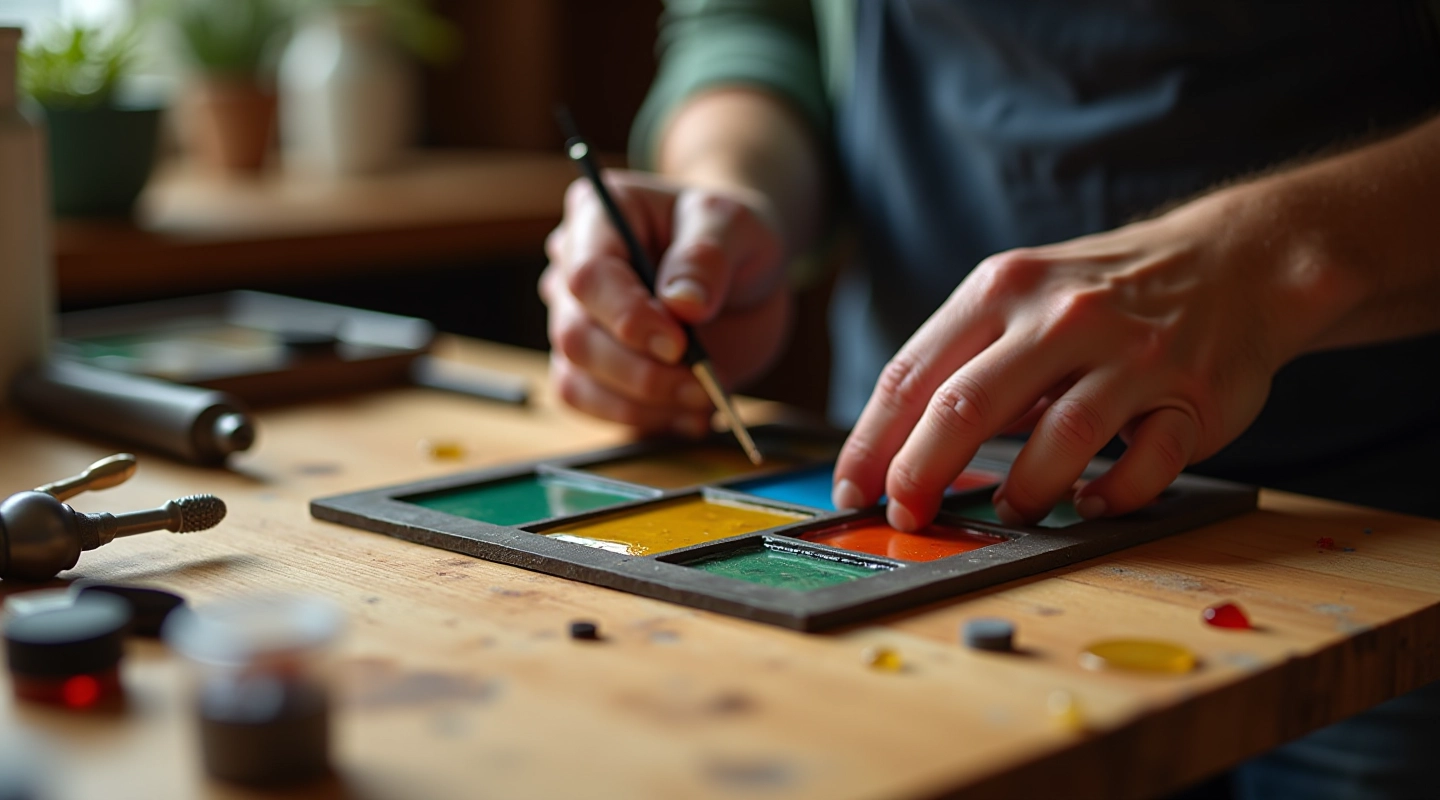
Selecting and Preparing Glass for Your First Panel
Learn how to choose the right glass pieces, cut them safely, and prep them for a professional finish.
You don't need to spend a lot to get started. We'll cover which tools are worth investing in, safety practices you shouldn't skip, and how to set up a basic home workspace safely.

Author
Editorial Team
Written by the solvmark Editorial Team, focused on clear, practical guidance for stained glass crafting and Prague weekend workshops.
Stained glass doesn't require fancy equipment to begin. But it does require the right tools. There's a real difference between tools that'll frustrate you and tools that actually work. We're talking about glass cutters that don't slip, soldering irons that heat properly, and protective gear that actually protects.
The good news? You can start with basics and expand over time. Most people spend between $80–150 on initial tools, then gradually add specialty items as they get more confident. Safety, though — that's non-negotiable from day one.
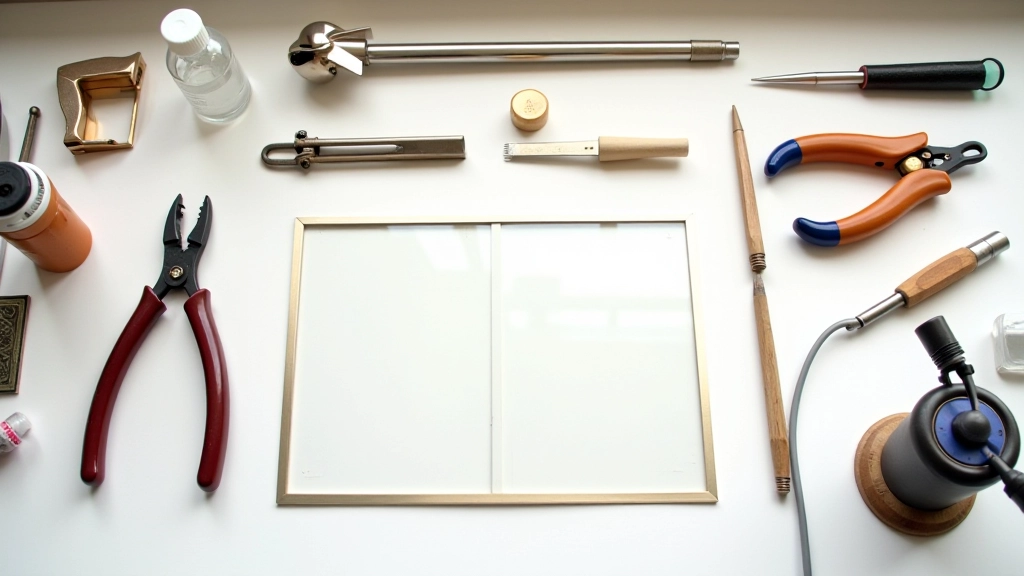
Let's be real — you don't need 50 tools. You need the ones that do the job reliably. A decent glass cutter with a carbide wheel costs about $15–25. Doesn't sound like much, but a cheap one? You'll replace it within weeks because it won't cut cleanly.
Running pliers ($10–20) are essential. They grip the glass after you score it and help break the pieces cleanly. Without them, you're fighting the glass. Grozing pliers ($12–18) clean up the rough edges. A soldering iron ($30–60 for a decent one) is where most beginners splurge, and honestly, it's worth it. You want temperature control between 350–450°C.
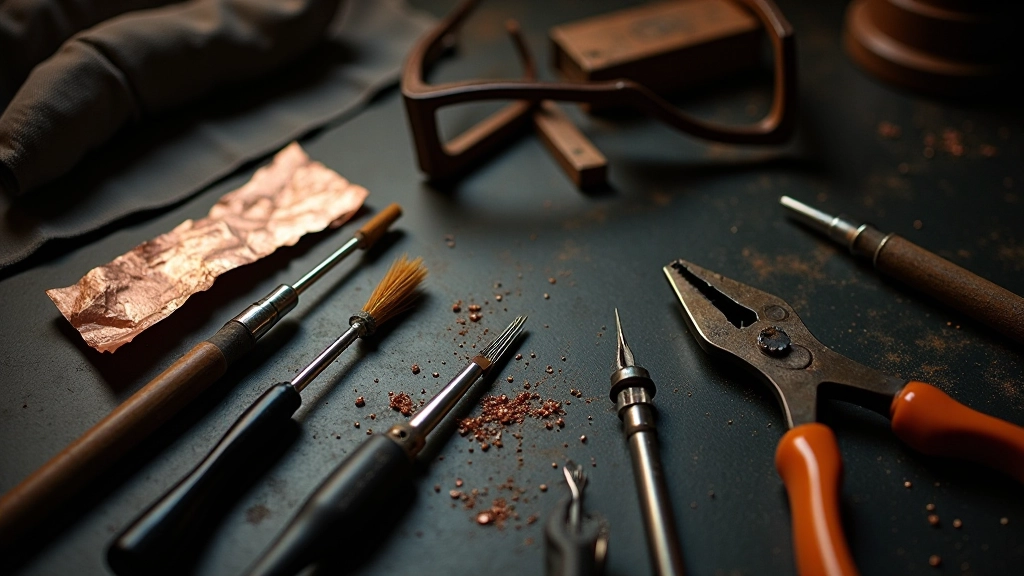
Copper foil or lead came holds pieces together before soldering. Flux ($5–8 per bottle) is absolutely critical — solder won't stick without it. A soldering iron stand, sponge for cleaning the tip, and a basic brush round out your essentials. Total? Around $120–140 if you buy mid-range quality.
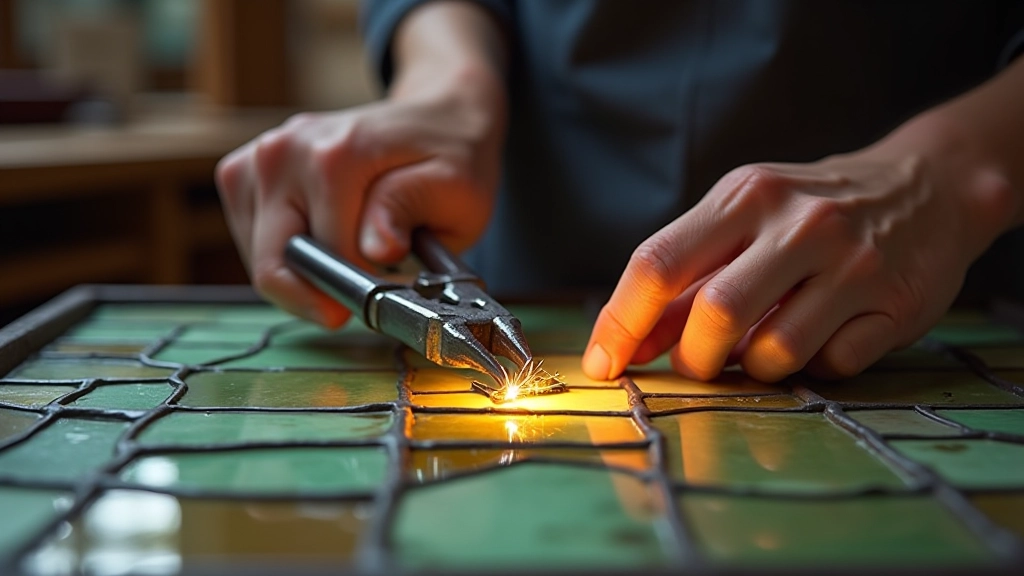
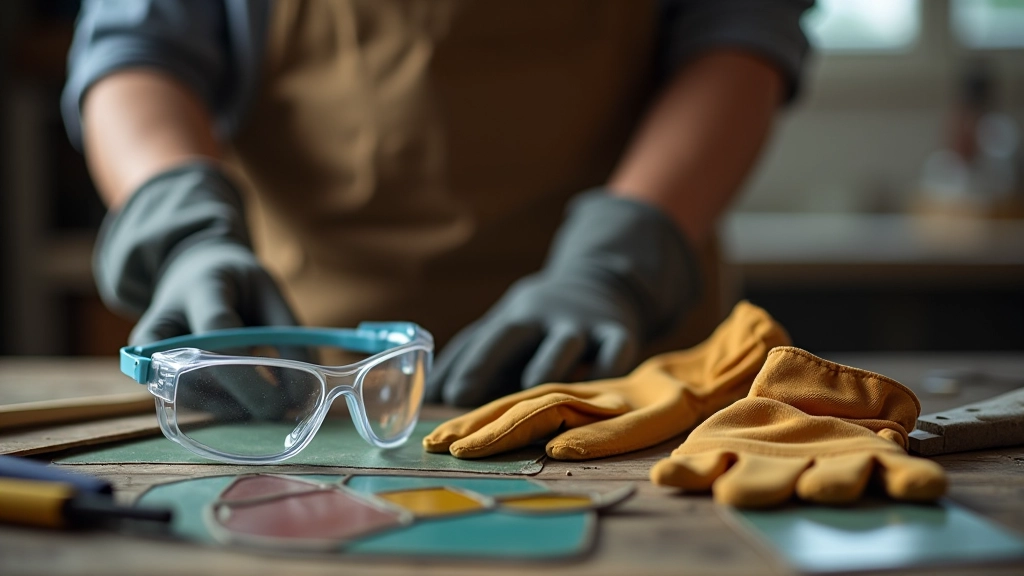
Glass shards are sharp. Really sharp. You'll get small cuts — it's part of the process — but you can minimize them. Safety glasses aren't just about flying glass pieces. You're also protecting against flux fumes and solder spray. A basic pair runs $8–15 and they're non-negotiable.
Cut-resistant gloves ($12–25) designed for handling glass will save you from constant small injuries. Don't use regular work gloves — they're too thick and you'll lose precision. You want something fitted that still lets you feel what you're doing.
A work apron protects your clothes from solder splatters and glass dust. Soldering produces fumes — flux contains rosin which releases harmful vapors when heated. You need proper ventilation. A simple fan blowing fumes away from your face makes a massive difference. Open a window if possible.
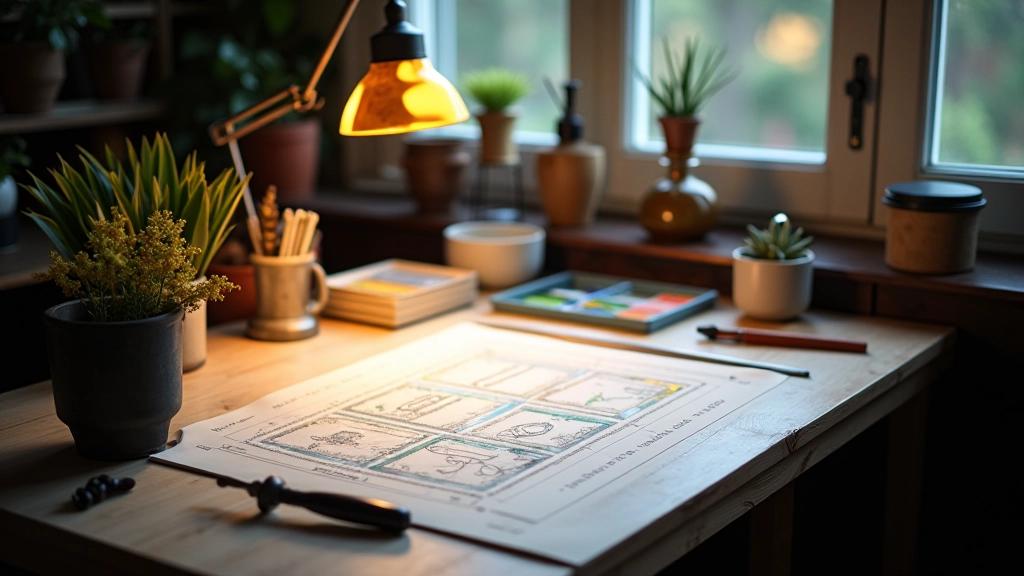
You don't need a dedicated studio. A corner of a table works. But think about what you're doing — cutting glass creates fine shards, soldering creates fumes, and flux stains surfaces. Here's what actually works:
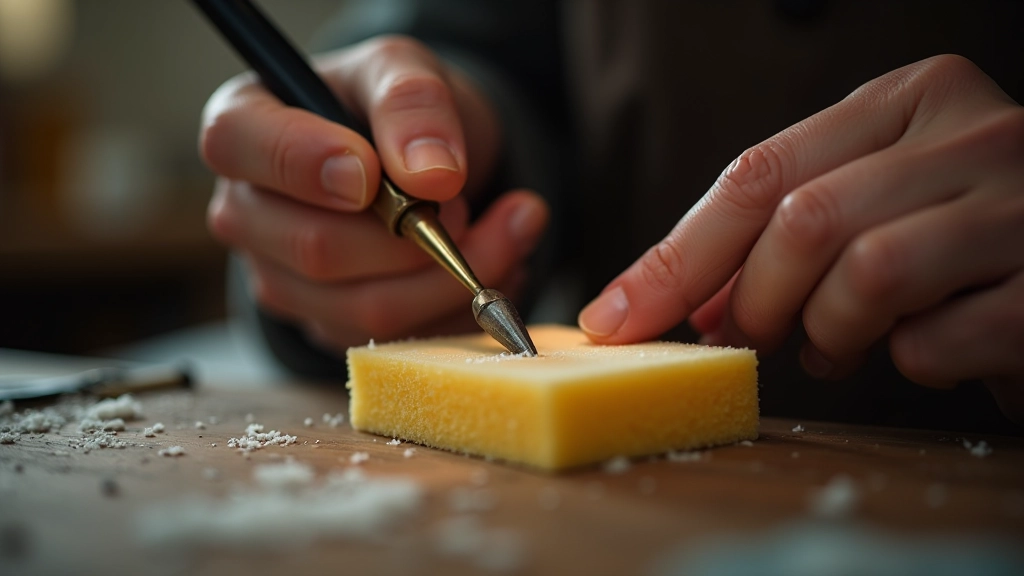
A dull cutter won't cut. You'll press harder, get frustrated, and the glass will break wrong. Replace cutting wheels every 6–12 months depending on how much you use them. Soldering iron tips get crusty with burnt flux. Clean the tip on a wet sponge before and after each joint. A tip that's caked with residue won't transfer heat properly.
Store your soldering iron unplugged and let it cool completely. Never wrap a hot iron in anything. Keep flux in a sealed container — it dries out and becomes less effective. Check your safety glasses for scratches. If you can't see clearly, replace them.
The barrier to entry for stained glass isn't high. You'll spend under $150 on basic tools and safety gear. That's less than most hobbies. What matters is getting tools that actually work — a quality glass cutter, a decent soldering iron, and proper safety equipment. Don't cheap out on these three things.
Safety practices aren't something you add later. They're part of the process from your first cut. Ventilation, eye protection, cut-resistant gloves — these become automatic after a few projects. You're not protecting yourself against dramatic accidents. You're preventing the small injuries that add up over time.
Once you've got your workspace set up and tools organized, the creative part begins. That's where it gets genuinely fun.
Disclaimer: This article provides educational information about stained glass tools and safety practices. While we've aimed for accuracy, individual circumstances vary. Always follow manufacturer instructions for tools and equipment. If you have specific health concerns or are working in specialized environments, consult with professionals or safety experts. This guide is intended to supplement, not replace, proper training and professional advice.
Learn how to choose the right glass pieces, cut them safely, and prep them for a professional finish.
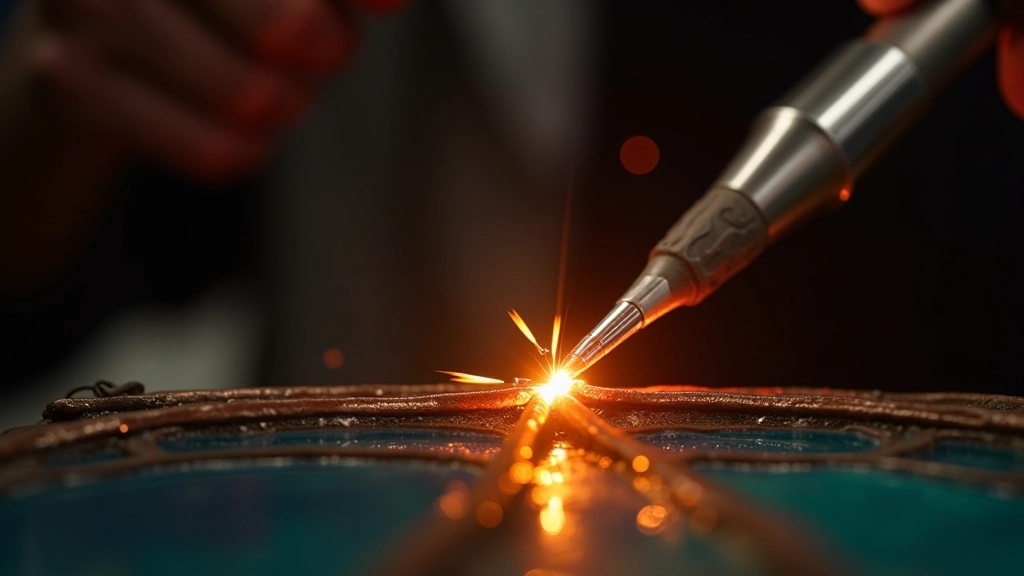
Soldering is the core technique that holds your panel together. This guide covers joints that'll last.
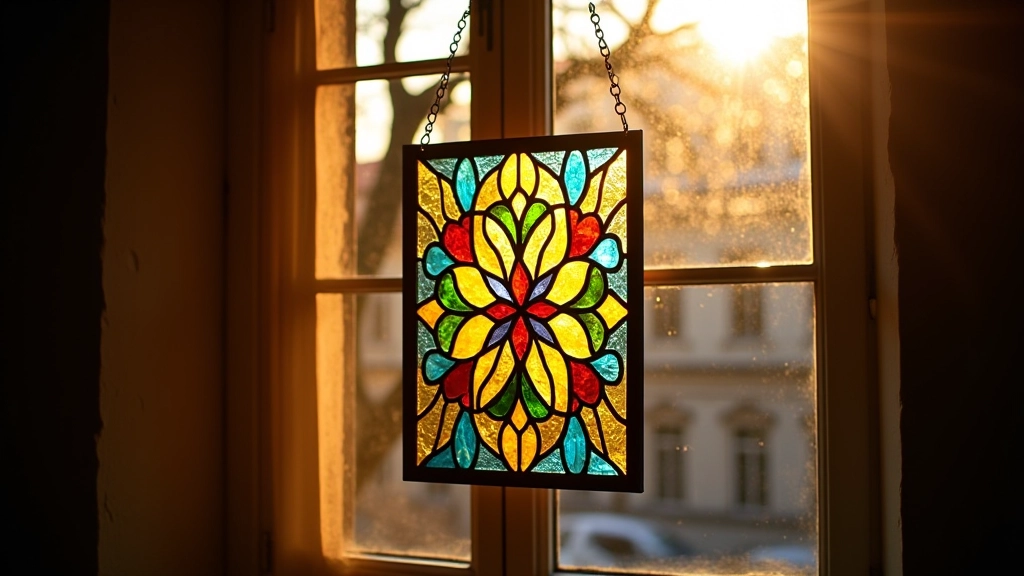
Creating a good design is the first step to a successful panel. We'll walk through practical approaches.