Design Basics for Stained Glass Panels
10 min read Beginner July 2026
Creating a good design is the first step to a successful panel. We'll walk through pattern selection, scaling your design, color balance, and how to adapt existing designs for your skill level.
By
Solvmark Editorial Team
Editorial Team
Written by the solvmark Editorial Team, focused on clear, practical guidance for stained glass crafting and Prague weekend workshops.
01
Finding Your Starting Point
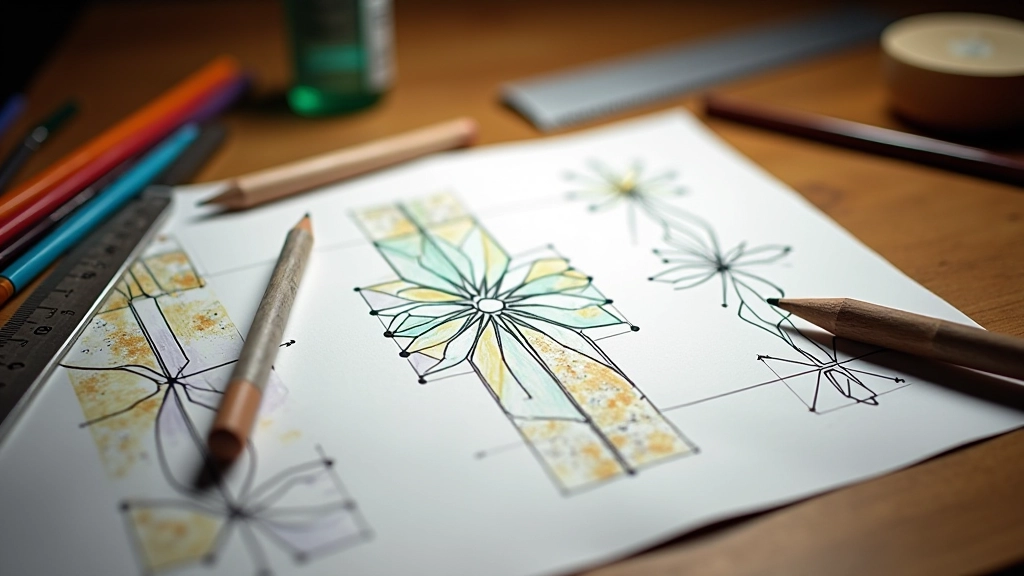
The best designs start with inspiration, not intimidation. You don't need to sketch everything from scratch. We're talking about looking at existing patterns — whether that's traditional geometric designs, nature-inspired motifs, or something you found in a book.
Start simple. Seriously. A beginner's first panel should have maybe 8-12 pieces of glass, not 50. Fewer pieces mean fewer solder joints, less room for mistakes, and you'll actually finish the thing. That's the real win here.
Look for patterns online, in stained glass books, or even in quilt designs. They're all built on the same principle: breaking an image into manageable chunks. Once you find something you like, you're ready for the next step.
02
Scaling Your Design to Size
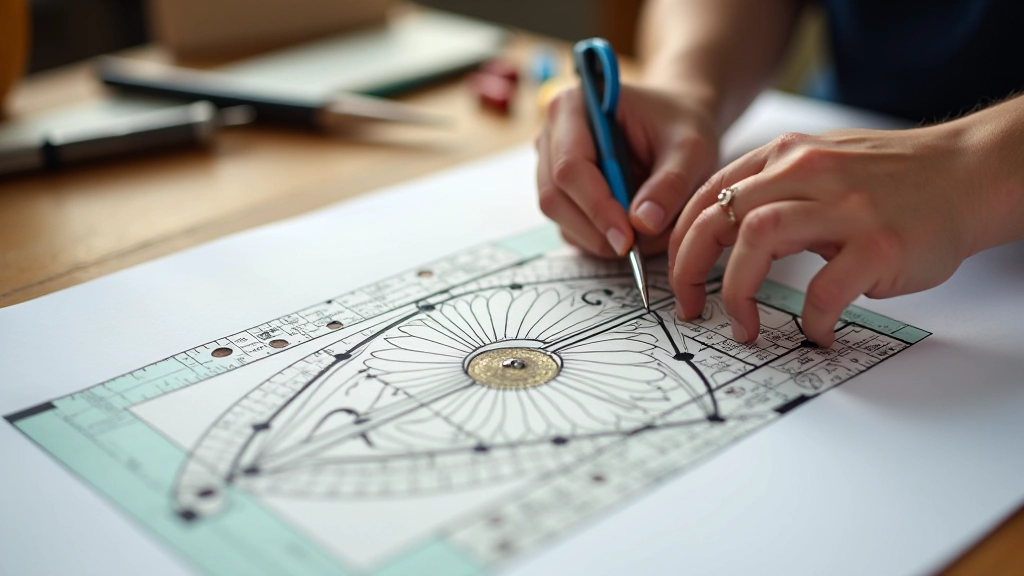
Here's where most beginners get stuck: they pick a design but it's either way too big or embarrassingly small. You need to scale it to match what you actually want to build.
Most first panels are around 12 by 16 inches — big enough to look impressive, small enough that you won't be working on it for six months. If you've got a design on paper, use a photocopier or print it at the size you want. It's that simple.
Don't try to eyeball it or hand-scale it. Seriously. Get a copy at actual size. Your glass pieces should be at least 2-3 inches across — anything smaller gets fiddly and frustrating. Make sure each individual piece is big enough to work with comfortably.
03
Balancing Color in Your Panel
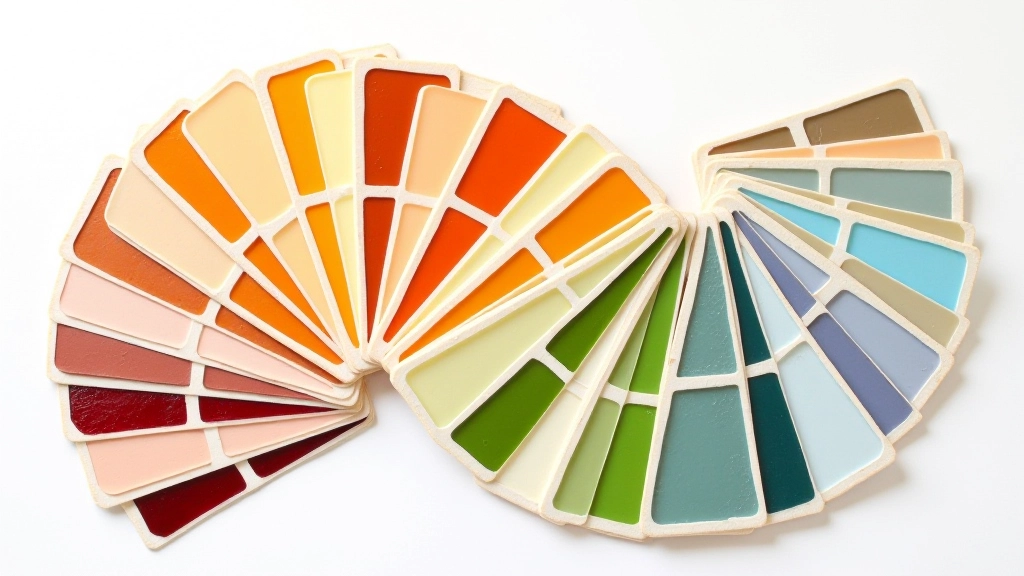
Color balance is the difference between a panel that sings and one that just feels flat. It's not about picking your favorite colors — it's about distribution.
Think of it this way: if you use a bright red in one corner, your eye gets stuck there. You need either another red elsewhere to balance it, or you need something equally eye-catching. Don't dump all your dark glass in one half of the panel either. That's a quick way to make something look lopsided.
Try the rule of three: use three main colors as your palette. One dominant (takes up maybe 50-60% of your panel), one secondary (25-30%), and one accent (10-15%). The accent is your drama — the thing that catches light and makes people look twice. Keep it limited, and your panel will feel intentional instead of chaotic.
04
Adapting Designs for Your Skill Level
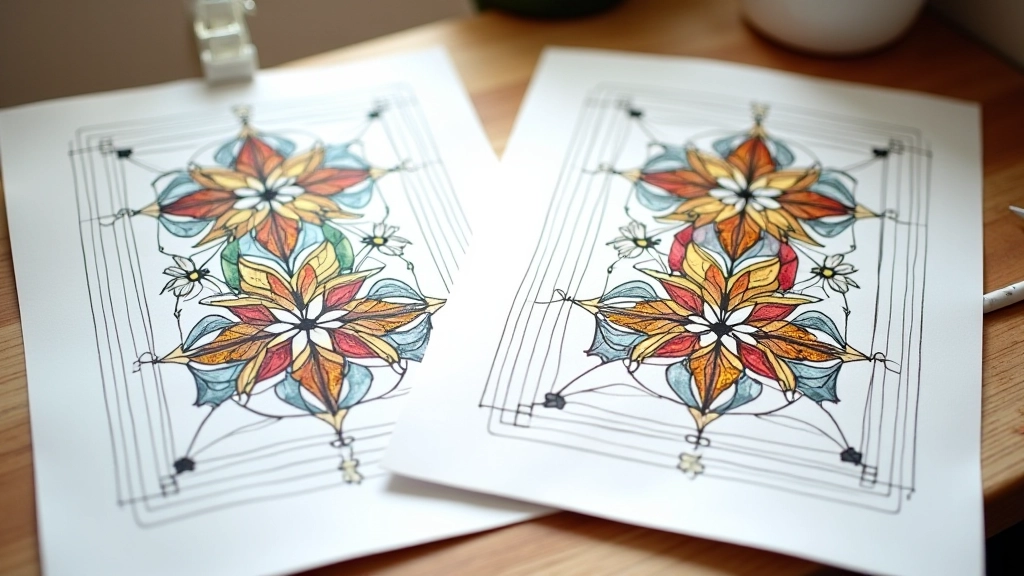
You found a design you love, but it's got 40 pieces and curves that would make a glassblower nervous. Don't panic. You can simplify it.
Start by combining small pieces into larger ones. If the original has five tiny pieces creating a flower petal, combine them into one bigger piece. Straighten curves into angles — they're easier to cut and solder. Remove the super fine detail work. You're not making a museum piece; you're building something you'll actually enjoy creating.
The simplified version will still look great. It'll just take you 8 hours instead of 40. Plus, your first panel is a learning experience. The second one will be better. The third one will be beautiful. Start achievable.
Start with What Works
Good design doesn't have to be complicated. Pick something simple, scale it properly, balance your colors, and don't try to be a hero on your first panel. You'll learn more from finishing something manageable than struggling through something that's way too ambitious.
The design is your blueprint. Get it right, and everything else flows naturally. Rush through it, and you'll be frustrated before you even cut your first piece of glass.
Ready to learn about cutting and preparing your glass?
Read Our Glass Selection GuideInformational Note
This guide provides educational information about design principles for stained glass crafting. While we've shared practical approaches based on common practices, every artist's process is different. Your results will vary based on your individual skill level, materials used, and creative choices. Always prioritize safety when working with glass and tools, and consider taking an in-person workshop to learn directly from experienced instructors.