
Mastering Soldering Joints and Seams
Soldering is what holds your stained glass panel together. This guide covers temperature control, flux application, creating clean seams, and troubleshooting common joint problems so your work lasts for years.

Author
Solvmark Editorial Team
Editorial Team
Written by the solvmark Editorial Team, focused on clear, practical guidance for stained glass crafting and Prague weekend workshops.
Temperature Control: The Foundation of Strong Joints
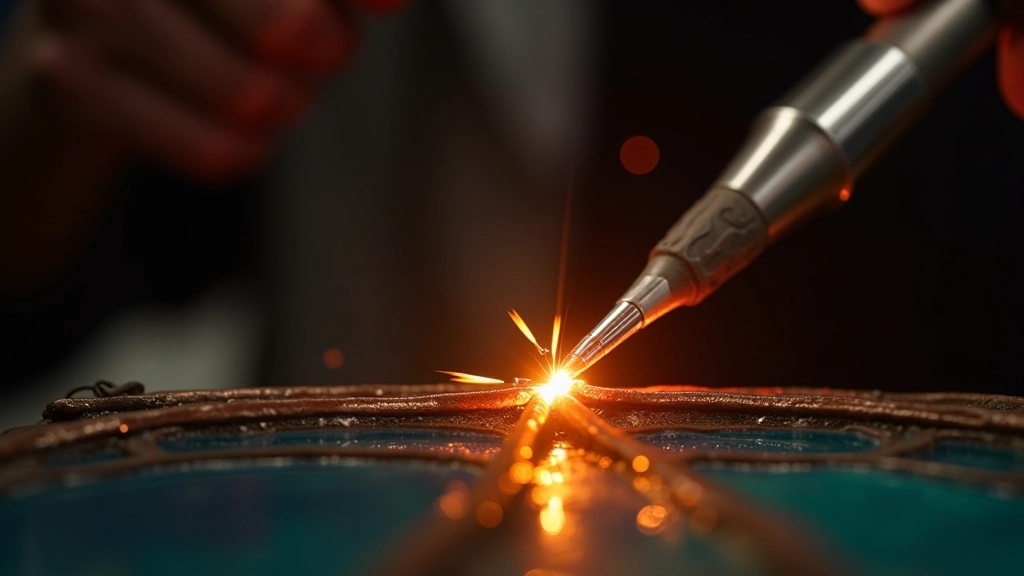
Getting the temperature right is everything. Too cool, and your solder won't flow properly — you'll end up with a weak joint that could break under stress. Too hot, and you'll damage the foil, burn flux, and create brittle connections that look dull and gray.
For copper foil work, you'll want your iron between 350-400°C (660-750°F). Most soldering irons have a dial or digital display, so you can dial in the exact temperature you need. Let me be honest though — it takes a few joints to get a feel for it.
A good joint should be shiny and smooth, not dull and grainy. If you're getting dull joints, your iron is probably too cool or you're moving too fast.
Flux Application: The Secret to Clean Seams
Flux is your best friend. It's a chemical compound that prevents oxidation and helps solder flow smoothly across the joint. Without it, you'll struggle to get a clean connection.
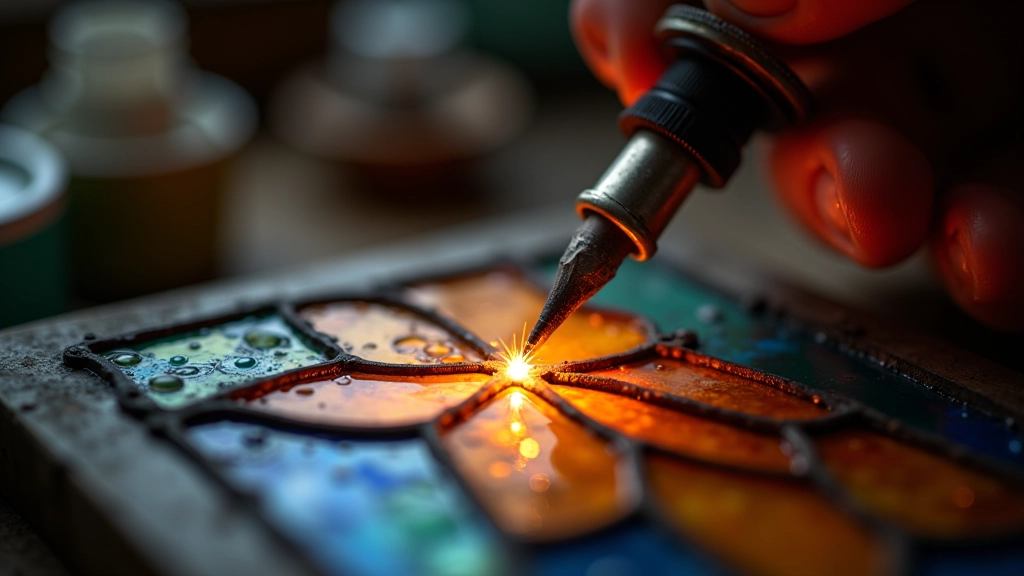
Apply a small amount of flux to each joint before soldering. Not too much — just enough to coat the foil. You're looking for a thin layer that covers the whole seam. When you heat the joint, you'll see the flux bubble and activate. That's when the solder flows best.
Pro tips:
- Use a flux pen for precise application
- Paste flux works well for larger areas
- Clean excess flux with a damp brush after soldering
Creating Clean, Smooth Seams
A good soldering technique creates a bead that's consistent and attractive. Here's what you're actually doing: you're melting solder onto the foil seam so it bonds the glass pieces together while creating a smooth, waterproof seal.
Touch the iron tip to the foil and let it heat for about 2-3 seconds. Then feed solder into the joint — not onto the iron, but into the joint itself. The solder will flow around the heated foil. Move your iron along the seam at a steady pace. You're not racing. A good seam takes about 30-45 seconds per foot of joint.
The bead should be smooth and shiny. If you see bumps or dull patches, you either moved too fast, the temperature was off, or you didn't use enough flux.
Troubleshooting Common Joint Problems
Dull, Grainy Joints
Usually means the iron wasn't hot enough or the solder cooled too quickly. Increase temperature slightly and let the iron sit on the joint a bit longer before removing it.
Uneven Beads
You're probably moving too fast or inconsistently. Slow down. Keep steady pressure and move at the same pace along the entire seam. Practice helps more than anything.
Solder Won't Flow
Not enough flux or the iron's too cool. Add more flux to the joint and increase the temperature. You'll know when it's right — the solder flows like water.
Burnt Flux Residue
The iron was too hot or sat on the joint too long. Lower the temperature by 10-15°C and work faster. Clean with a wet brush while it's still warm.
Practice Makes Perfect
Soldering isn't complicated once you understand the basics. Temperature control, proper flux application, and steady technique are really all you need. The first few panels you'll probably spend more time redoing joints than you'd like. That's completely normal. Every experienced glass artist we know struggled with this at first.
The good news? You'll improve faster than you think. After 5-10 panels, you'll develop muscle memory. Your joints will get smoother. You'll understand how the solder feels when it's right. And eventually, you won't even think about it — you'll just solder.
Start with simple projects. Get comfortable with the technique before tackling complex panels. And don't be afraid to redo a joint if it doesn't look right. It's part of the learning process.
About This Guide
This article is educational information about soldering techniques for stained glass crafting. Individual results may vary based on materials, equipment, and experience level. Always follow safety guidelines when working with soldering irons, lead-free solder, and flux. If you're new to soldering, consider practicing under supervision or taking a workshop. For specific technical advice or if you encounter problems, consult with experienced glass artists or local stained glass instructors.
Related Articles
Selecting and Preparing Glass for Your First Panel
Learn how to choose the right glass pieces, cut them safely, and prep them for soldering.

Design Basics for Stained Glass Panels
Creating a good design is the first step to a successful panel. We'll walk through the essentials.
Essential Tools and Safety for Stained Glass Work
You don't need to spend a lot to get started. We'll cover which tools are worth the investment.